With the economic development, people's quality of life is improving, and self-beautification is gaining more attention. To capture a beautiful picture, a photographer needs a camera with high resolution and creativity in design, composition, and lighting. Photo shooting and editing can be done using a smartphone or a regular computer. In this article, HostingViet shares how to take photos on a computer using the camera, specifically on a Windows 7, Windows 10, or even a Dell computer.
1. What is a Camera on a Computer?
The computer camera is a digital technology device designed to be placed at the center top of the computer screen. Its purpose is to capture photos or transmit images and videos over the Internet. Users can use the computer camera to see images and have video calls through applications like Zalo or Messenger, as well as take personal photos for various life and work-related matters.
==> XEM THÊM : cách tải ff trên máy tính yếu

2. How to Take Photos Using Camera on Windows 7
On computers running Windows 7, the built-in camera software is not always available. Therefore, users need to download additional software to support camera functions. HostingViet recommends using CyberLink YouCam, a popular and effective software for taking photos on Windows 7:
- Step 1: Search for "CyberLink YouCam" on Google and download it to your computer. After downloading the file, click to install the software.

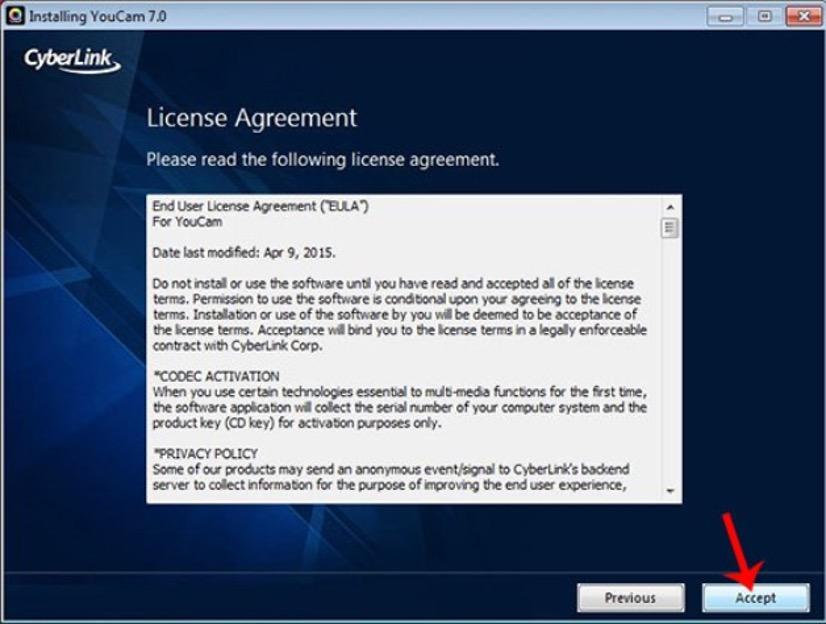
- Step 2: Accept the terms and conditions by clicking "Accept."
- Step 3: Follow the simple installation steps, choosing the language and location, and click "Next" to proceed.

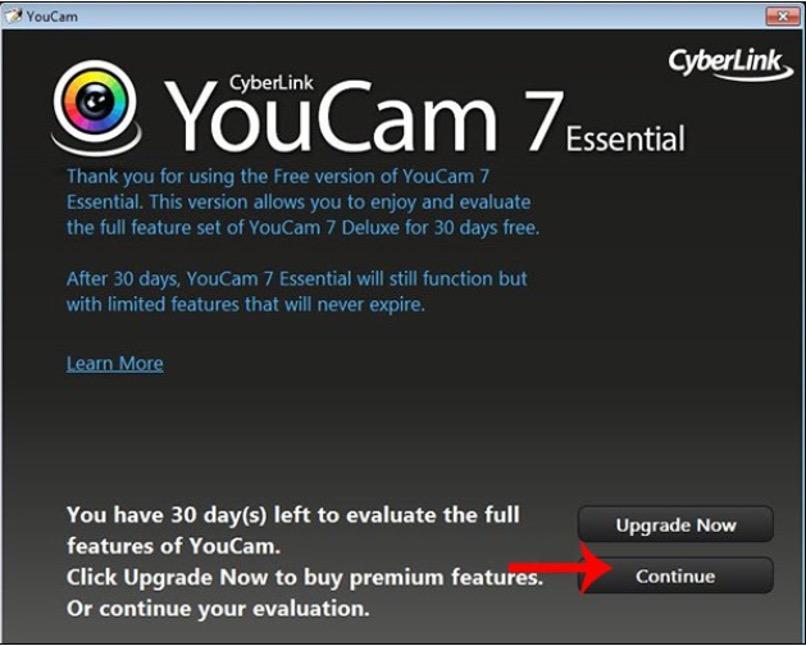
- Step 4: After the basic setup, open the software again. When prompted, click "Continue" to complete the installation process.
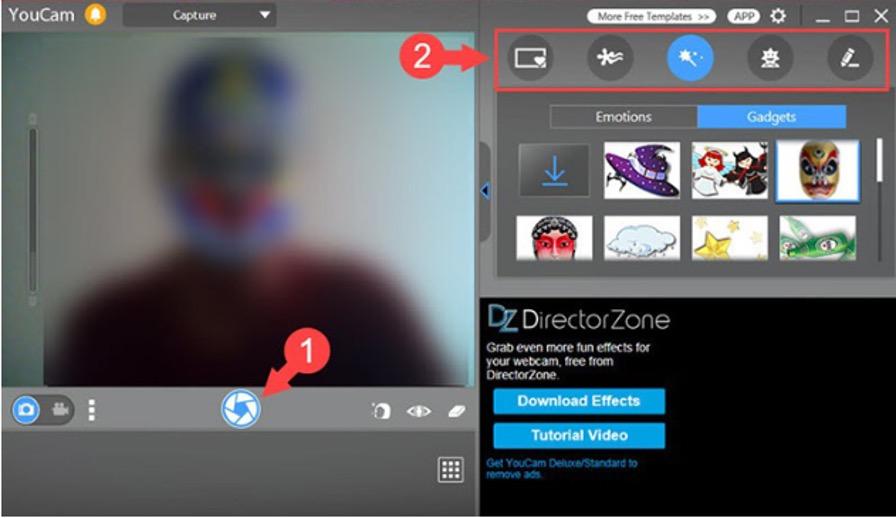
- Step 5: After installation, open CyberLink YouCam to use it. In the software window, click the round button at the bottom of the screen to take a photo. You can also choose video recording modes and explore additional features.
3. How to Take Photos Using Camera on Windows 10
Unlike Windows 7, Windows 10 integrates and supports various reliable camera functions. To take photos on a Windows 10 computer:
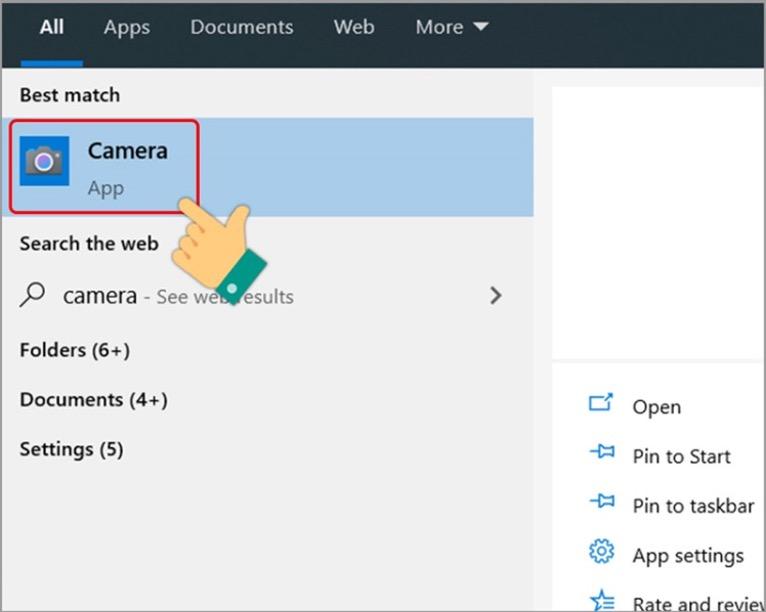
- Step 1: Click on the "Search" box at the bottom of the screen or click "Start" in the bottom-left corner.
Type "Camera" in the search bar.
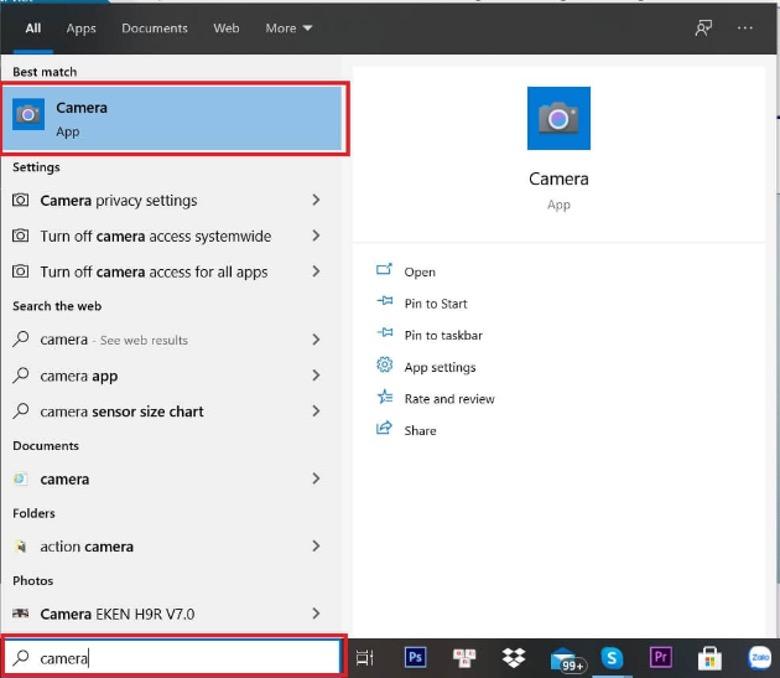
- Step 2: Once the search results show the Camera app, click on the camera icon. The camera function is activated, allowing you to take photos as usual.
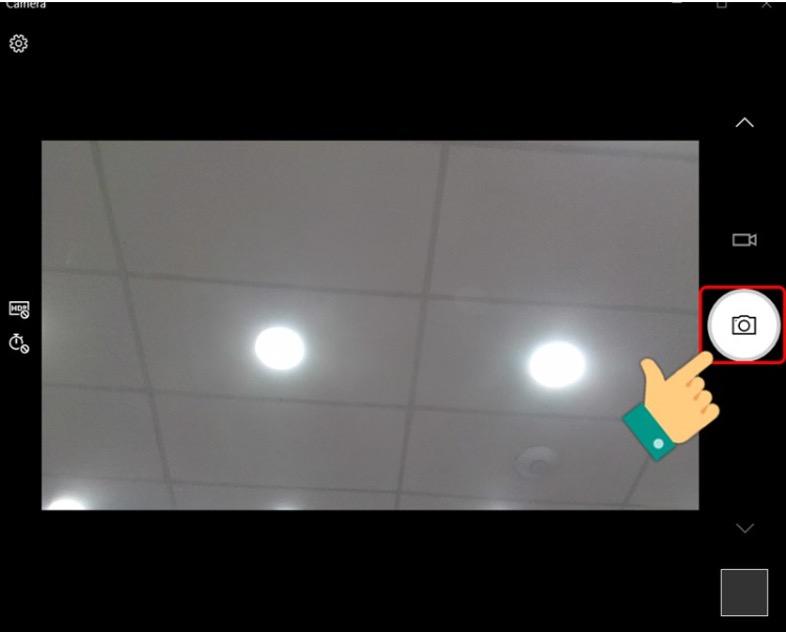
- Step 3: Click on the camera icon to take photos via your computer's camera.
4. Troubleshooting Camera Issues
It is a very common occurrence that computers have built-in facilities suitable for taking photos on the computer with a camera but users still cannot use it. These consequences can be summarized by the following causes:
4.1. The user has not granted permission to the application
Not being able to use the traditional way of taking photos on your computer with the camera may be because you haven't granted access to that app. This can be understood as before taking photos, you need to update to the latest version on the Windows 10 system. How to update to the new version is as follows:
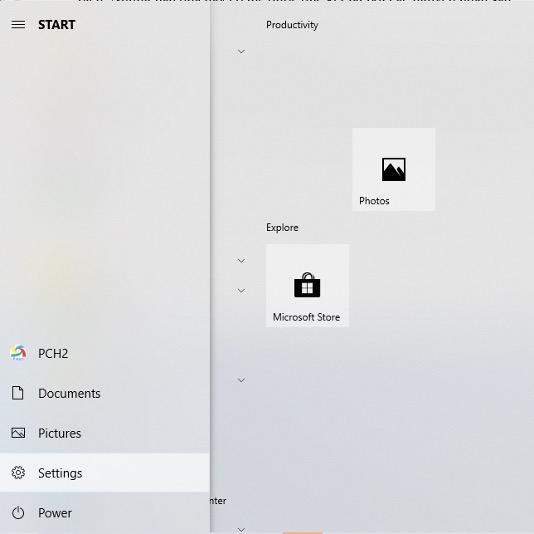
- Step 1: In the window, you choose to click on Settings with the cog icon.
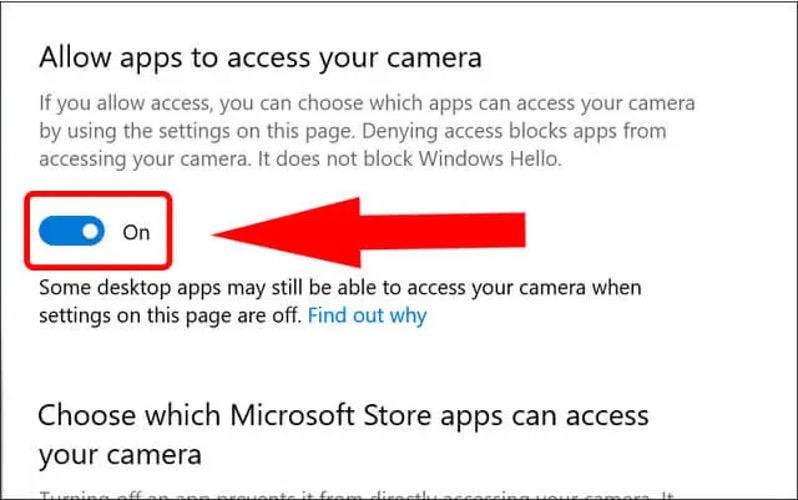
- Step 2: In the Settings window, click to select Camera privacy settings.
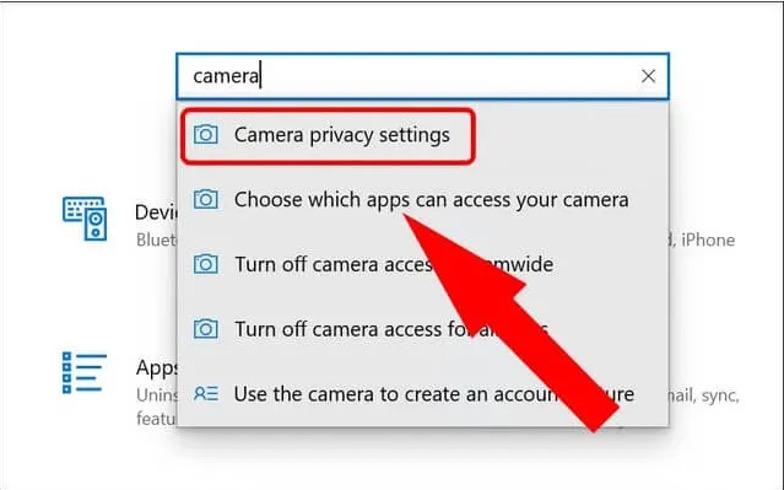
- Step 3: In the Camera privacy settings window, click the On button to allow your computer to access the camera application. So you can take photos on your computer with the camera in the traditional way as usual.
4.2. The Camera Driver system has not been updated yet.
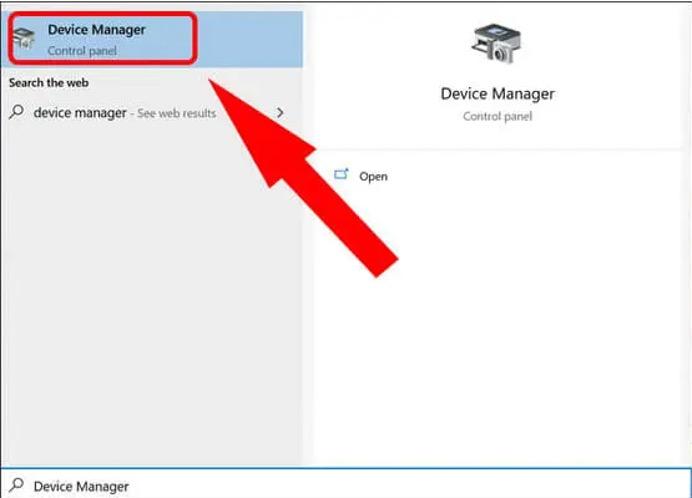
- Step 1: In the Search bar in the lower left corner of the computer screen, search and select Device Manager.
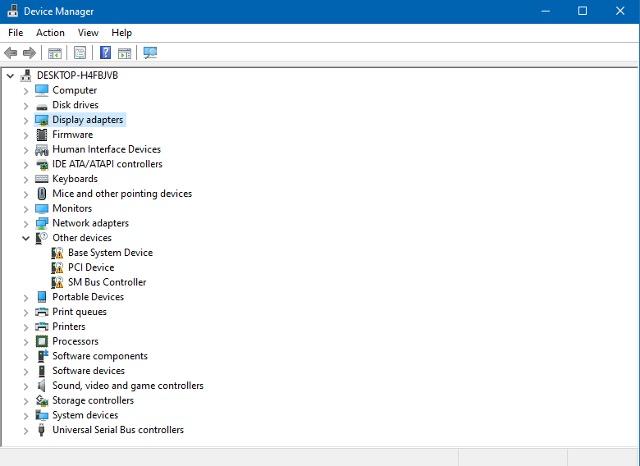
- Step 2: In the Device Manager window, click on the Display adapter folder. Then select AMD Radeon (TM) Graphics Properties.
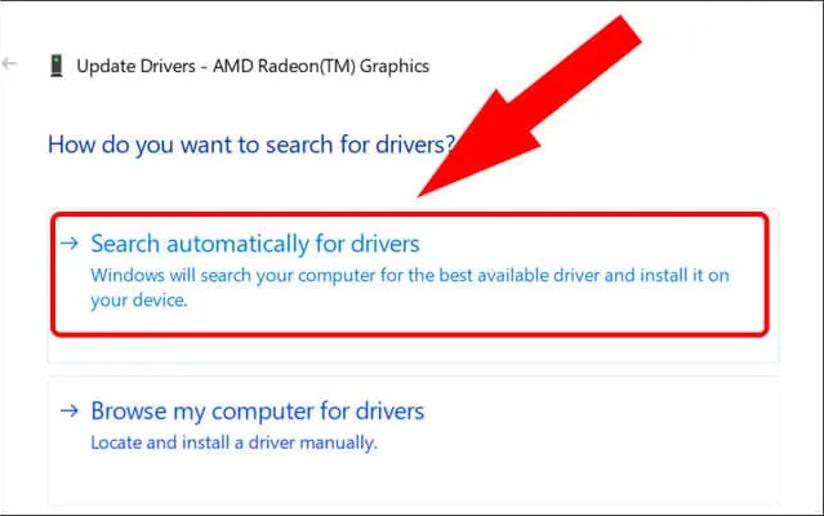
- Step 3: At the AMD Radeon (TM) Graphics Properties window, select and the Driver tab, then select Update Driver.
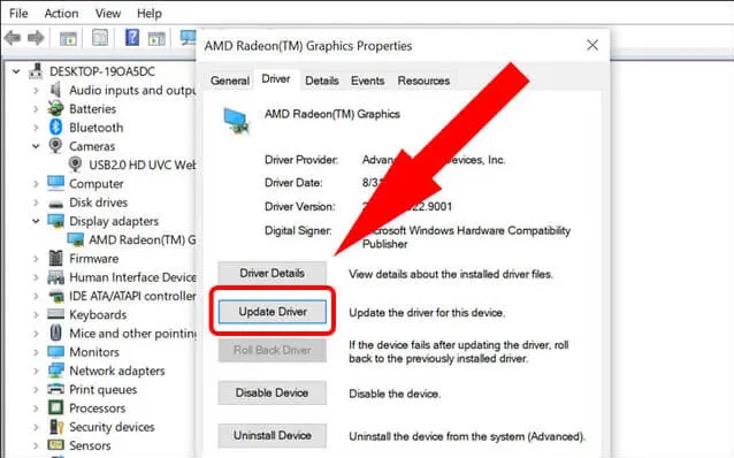
- Step 4: Continue to select Search automatically for updated driver software so that users can search for a Driver system that is suitable and compatible with your computer.
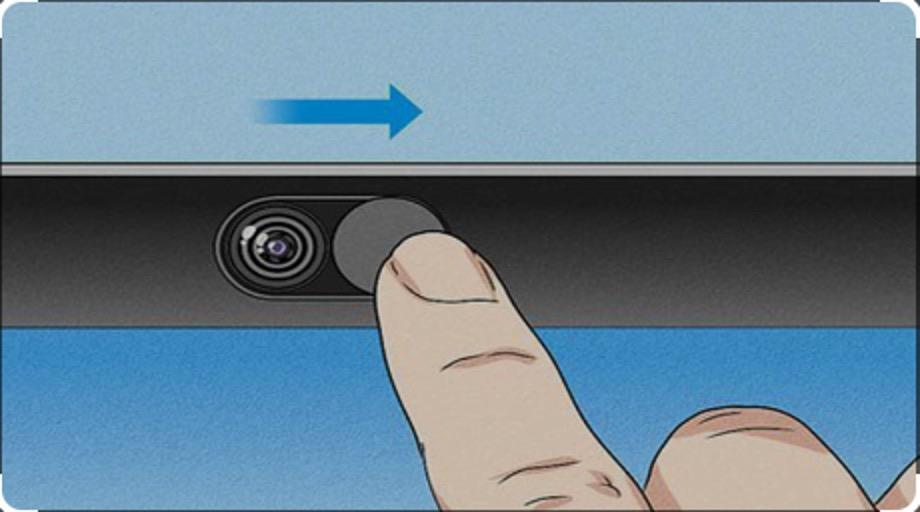
4.3. Check the camera on/off button or move the camera switch button properly
One of the reasons why you cannot take photos on your computer with the main camera is because you have not turned the camera back on or have not used the camera switch button. For some laptop models with certain cameras, certain switches will be designed, and you only need to turn on the switch to use the computer's camera itself. Therefore, when taking photos on your computer, you need to check and see if your computer supports that switch and is turned on or not. Make sure that when you use the camera, the switch is turned on or you have made the appropriate camera switch.
5. How to take the most beautiful photos with the camera on Dell computers
Like other computer brands, how to take photos with the camera on a Dell computer when operating by the Windows 7 or Windows 10 operating system is done through two basic ways: using the method of taking photos with the transmission camera. system, or take photos with the camera via CyberLink YouCam software.
Depending on the characteristics of the machine, if the Dell computer cannot support the above two methods, it may also depend on the user's requirements. The photographer will choose a more suitable software to make their photos more sparkling. Therefore, HostingViet would like to introduce to customers how to take the most beautiful photos with the camera on Dell computers using Webcam Toy software, Mycam software, or Magic Camera software.
5.1. Unique photography software Webcam Toy
Webcam Toy is mentioned as a free online camera photography application. This can be understood as you just need to start the application and take photos with the camera on your own Dell computer without spending any money.
The special feature of this application is the unique and creative photography effects, helping users freely choose their own space when taking photos. To use the Webcam Toy application, you need to complete the following steps:
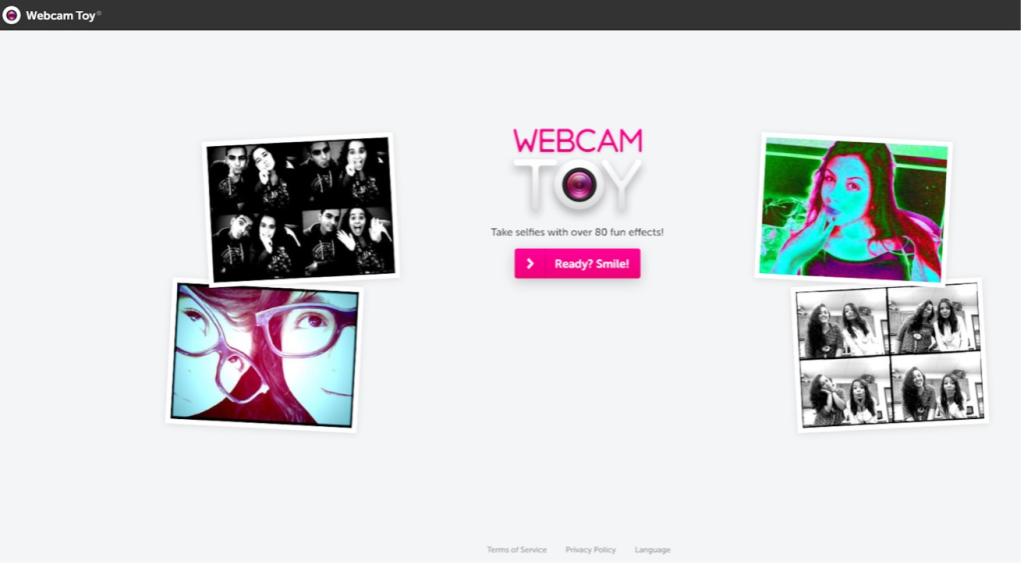
- Step 1: You must open a web browser or search google to access the official website of Webcam Toy: https://webcamtoy.com/
- Step 2: Select Ready Smile to enter the photography application.
- Step 3: Continue to select Use my camera to enter the photography space.
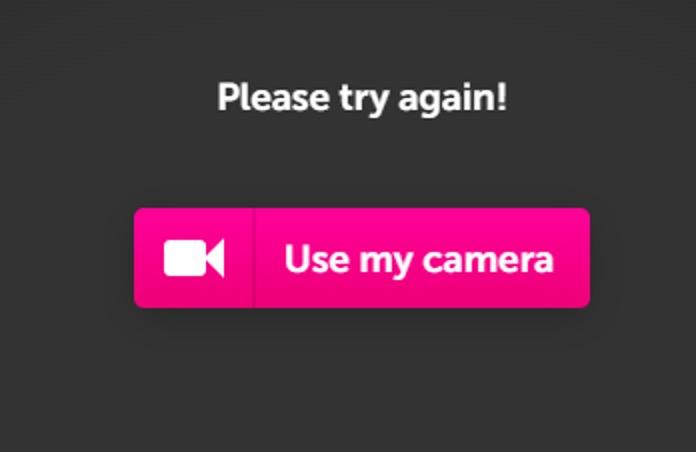
- Step 4: After clicking on Use my camera your camera access will be activated, and you will start seeing your images through the camera appear on the website.
- Step 5: Finally, choose a beautiful effect and a beautiful photo pose to make your photo impressive. Click on the camera icon on Webcam Toy's interface to save the photo you just took.
5.2. Mycam sharp photography software
Perhaps Mycam photography software is no longer a name too distant for those who are passionate about self-discovery photography. Mycam is widely used and popular not only because it is a common photography application, but because it is also a powerful assistant for amateur photographers with a passion for creativity. beauty.
With a simple and easy-to-use interface, users can quickly own sharp and outstanding photos with just the following simple operations:
- Step 1: Search google and visit the official website of Mycam software: https://mycam.softonic.vn/
- Step 2: Click to download the free application. After downloading, start installing the application
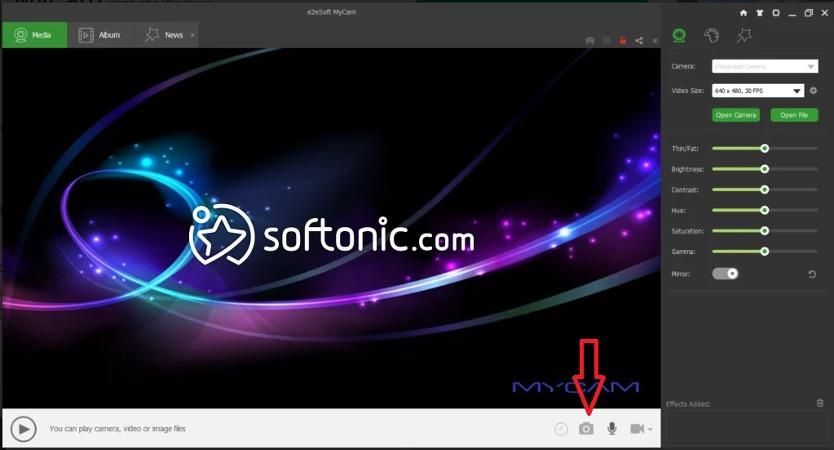
- Step 3: After completing the installation of the application, start the application and take photos with the camera. Accordingly, after starting the application, click on the photo capture icon to allow Mycam to use the camera.
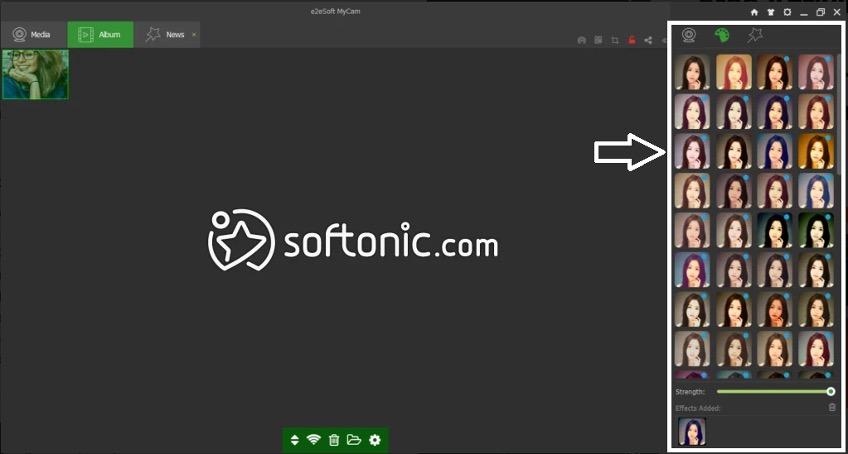
- Step 4: To make your photos more beautiful, you can freely get creative with special, sharp effects displayed on the right side of the application.
5.3. Magic Camera general photography software
Magic Camera synthetic camera photography software is also one of the photography support software that customers can refer to and use.
Using this photography software is similar to the two photography software that HostingViet described above. Customers need to Search google and download this software on their official website. After successfully downloading the file, install the software.
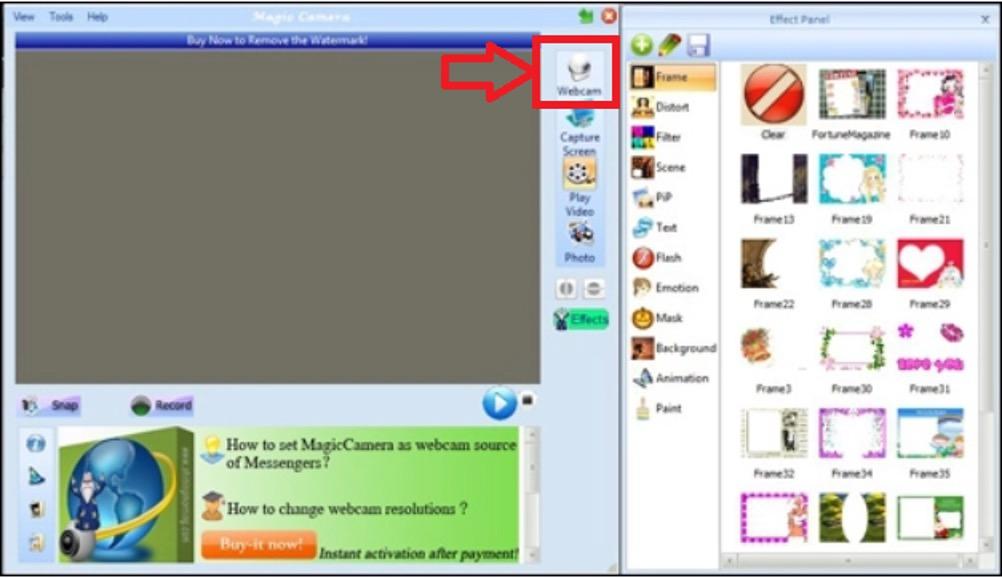
After the software is successfully installed, users open the software and select Webcam to proceed with allowing the software to access your computer's camera. Next, take photos like other regular photography software.
==> SEE MORE :
4 SIMPLE WAYS TO RESET COMPUTER ON WINDOWS COMPUTER
3 SIMPLE WAYS TO SET A COMPUTER PASSWORD ON WINDOWS 7, 8, 10, 11
6. Choose HostingViet as Your Stop
HostingViet is committed to understanding customer needs, offering reasonable prices, updating information promptly, ensuring absolute security, and providing excellent customer support. Choose HostingViet for reliable and tailored services.
If you have further questions or need assistance, contact HostingViet at hotline: 02466.567.555. Host successfully and capture beautiful photos on your computer!
-
Báo xấuPhản hồi{comment_date}{comment_content}